

Bubble formation during vehicle decal installation is common but can be minimized through proper surface preparation and tool selection. For stubborn bubbles, apply heat and use a sharp tool to break them free, then smooth wrinkles for a clear, protected finish. Best practices include thorough cleaning, controlled environments, slow application, and using PPF for enhanced protection.
After installing vehicle decals, bubbles can be a common and frustrating issue. This guide delves into the science behind bubble formation, offering practical steps to remove them effectively. We also provide preventive measures and best practices for a smooth installation process. Understanding these techniques ensures your vehicle’s decals look crisp and professional, enhancing your overall satisfaction with the vehicle decal installation experience.
- Understanding Bubble Formation After Decal Application
- Steps to Remove Bubbles from Vehicle Decals
- Preventing Bubbles: Best Practices for Installation
Understanding Bubble Formation After Decal Application
After vehicle decal installation, bubbles are a common occurrence and can be disconcerting for many car owners. Understanding why they form is key to effectively dealing with them. Bubbles typically result from trapped air during the application process. Even the smoothest surfaces have microscopic imperfections that can catch air as the decal is laid down. Another factor is the type of adhesive used; some are more forgiving than others when it comes to allowing air to escape before setting.
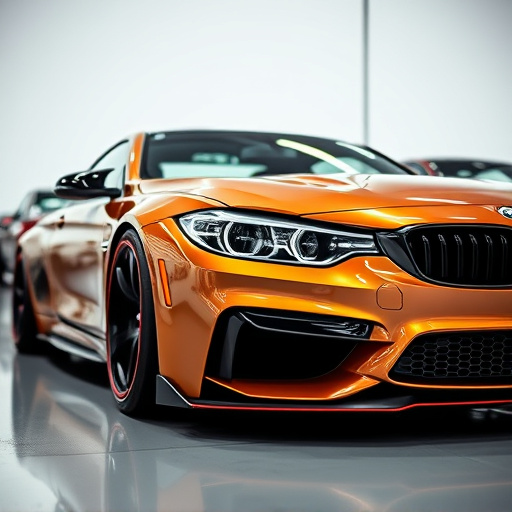
Protective coatings and vinyl wraps, while enhancing vehicle aesthetics, can also contribute to bubble formation if not applied correctly during professional PPF (Paint Protection Film) installation. Proper application techniques involve ensuring a clean, dry surface and using the right tools to minimize air entrapment. Pressure should be applied steadily to eliminate bubbles, and any that do form should be carefully burped or blown out before the adhesive sets completely.
Steps to Remove Bubbles from Vehicle Decals
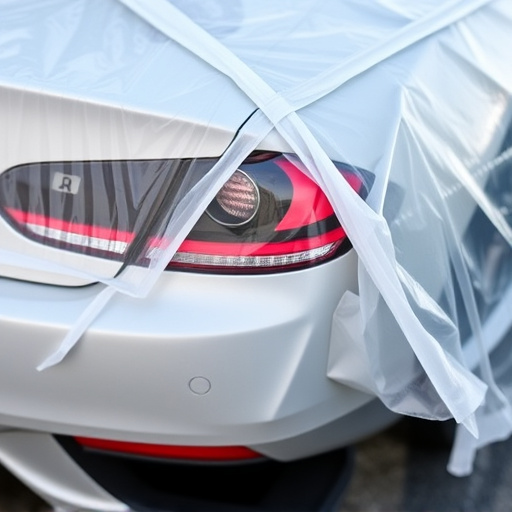
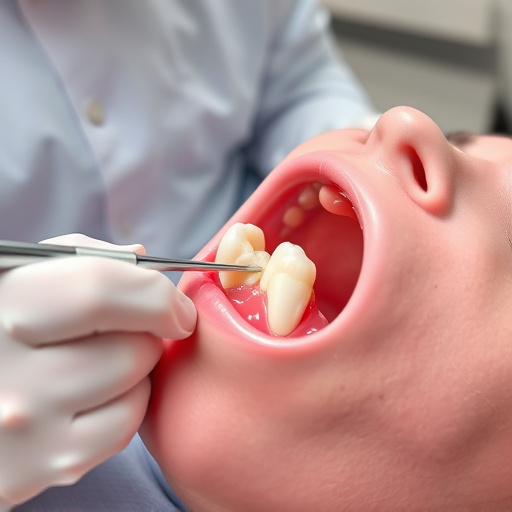
After a successful vehicle decal installation, it’s common to encounter bubbles, especially if the application wasn’t done in perfect conditions or with the use of professional PPF installation techniques. Don’t worry; removing these bubbles is a straightforward process that can restore your vinyl wraps to their pristine condition. Start by gently heating the affected area using a heat gun or a hairdryer on a low setting. This helps to soften the decal and release any trapped air. Move the heat source slowly across the surface, ensuring you don’t overheat the vinyl as it could damage the adhesive.
Once the bubble has softened, use a sharp tool, like a credit card or a popper, to gently press down on the bubble, breaking it free from the surface. Be cautious not to tear the decal itself. After successfully removing the bubble, smooth out any wrinkles or imperfections with your fingers or a soft cloth. This simple process can make a significant difference in the overall look of your vehicle protection, ensuring your vinyl wraps remain clear and free from unsightly bubbles.
Preventing Bubbles: Best Practices for Installation
To prevent bubbles during vehicle decal installation, it’s crucial to prep the surface thoroughly before applying any stickers. Start by cleaning the area with a dedicated car wash and ensure there are no traces of dirt or grease. Moisture can also cause bubbles, so use a hairdryer on a low heat setting to dry the surface evenly. A smooth base is essential; consider using a primer if necessary, especially for older vehicles.
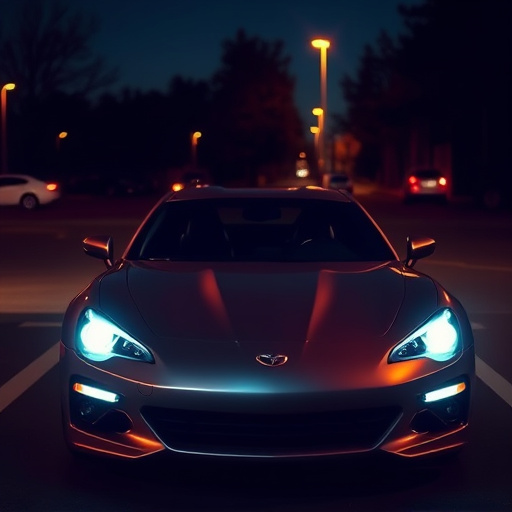
For optimal results in vehicle decal installation, follow best practices like working in a controlled environment to avoid sudden temperature changes that can lead to bubble formation. Apply the decal slowly and smoothly, starting from one corner and ensuring no air pockets get trapped. Using a squeegee or a dedicated tool, press firmly along the edges to eliminate bubbles instantly. For added protection and a seamless finish, consider professional PPF (Paint Protection Film) installation alongside your vehicle decal job, enhancing both aesthetics and vehicle protection.
After carefully understanding bubble formation and implementing best practices during vehicle decal installation, you’re now equipped to prevent and effectively remove any bubbles that may appear. Regularly inspecting your work and using the right tools can significantly enhance the quality of your decal application. Remember, a smooth finish not only enhances your vehicle’s aesthetics but also ensures the longevity of your decals.