


Preparation is key for installing vehicle decals or PPF. Wash and dry the car surface thoroughly to ensure optimal adhesion. Use recommended cleaning agents and microfiber cloths. Precise positioning during installation prevents future adjustments. Apply adhesive activator and use a squeegee for air pocket-free results. Trim and seal for seamless curves and environmental protection. Additional coatings or tints enhance durability and aesthetics.
“Elevate your vehicle’s style with professional tips on smooth decal installation. A well-applied decal enhances your car’s appearance, but improper placement can lead to blisters and bubbles. This guide delves into three critical steps: preparing your vehicle surface thoroughly for optimal adhesion, applying decals with precision and care to avoid mistakes, and trimming and sealing for longevity and clarity. Master these techniques for a flawless vehicle decal installation.”
- Prepare Your Vehicle Surface Thoroughly
- Apply Decal With Precision And Care
- Trim And Seal For Longevity And Clarity
Prepare Your Vehicle Surface Thoroughly
Before applying any vehicle decals, it’s crucial to prepare your car’s surface thoroughly. This involves washing and drying the area where the decal will be placed. Removing all dirt, dust, or grease is essential as these imperfections can affect both the adhesion of the decal and its overall appearance. A smooth, clean surface ensures that your vehicle decal installation process goes smoothly and provides a professional finish.
For optimal results in professional PPF (Paint Protection Film) installation or even automotive detailing involving vehicle wraps, proper preparation is key. This step isn’t just about aesthetics; it guarantees the longevity of your protective coating or decorative wraps. Ensure you use appropriate cleaning agents and microfiber cloths for the best outcomes, adhering to the manufacturer’s guidelines for both the decal and any protective films used.
Apply Decal With Precision And Care

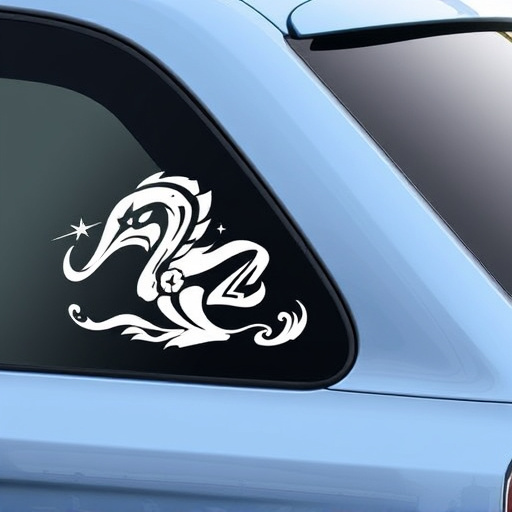
When installing a vehicle decal, precision and care are paramount. It’s crucial to position the decal accurately from the outset to avoid having to re-align or re-apply it later, which can lead to bubbles, wrinkles, or misaligned edges. Take your time, ensuring each element of the design is perfectly aligned with your desired location. Start by cleaning the surface thoroughly and applying a thin layer of water or a recommended adhesive activator to facilitate smooth adherence.
Use a squeegee or a soft cloth to apply pressure evenly across the decal’s surface, working from one side to the other. This step helps remove air bubbles and ensures a seamless blend with the surrounding vehicle surface. Remember, high-quality finishes require meticulous attention to detail. Applying your decal with care not only guarantees a professional appearance but also extends the lifespan of protective coatings on your vehicle’s paintwork.
Trim And Seal For Longevity And Clarity

After smoothly applying your vehicle decal, the next crucial step for a long-lasting and visually appealing finish is to trim and seal it properly. Trimming ensures that the decal fits seamlessly into every curve and crevice of your car, eliminating any bubbles or misalignments. This meticulous process involves carefully cutting away excess material from the edges of the decal, allowing it to adhere perfectly to your vehicle’s surface.
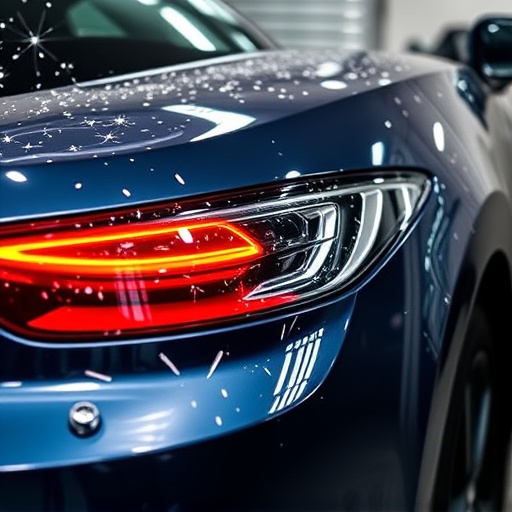
Sealing plays an equally vital role in maintaining the clarity and vibrancy of your decals. It acts as a protective layer against environmental factors like UV radiation, rain, and dirt, preventing yellowing or fading over time. High-quality sealers also enhance the durability of your decals, ensuring they withstand everyday wear and tear. Some automotive enthusiasts even opt for additional vehicle protection measures like ceramic coatings or ceramic window tinting for added longevity, clarity, and a sleek finish.
Professional-grade vehicle decal installation requires meticulous preparation, careful application, and precise trimming. By following these steps—thoroughly preparing your vehicle surface, applying decals with precision, and sealing for longevity—you can achieve a crisp, clear finish that enhances your vehicle’s appearance without compromising its integrity. Remember, attention to detail is key to successful vehicle decal installation.